Hello everyone!
In this tutorial we will be looking at the Layout program which allows us to lay out our SketchUp models. This program is only available with the pro version of SketchUp.
Find our tutorials on our Youtube channel.
When launching Layout, the file format is to be chosen, take the A4 plane. To see the tool palette appear, called layer, you have to click on “Window” and “Tool palette” and select what you want. (Reminder, the setting of the tool bar was seen in a previous tutorial).
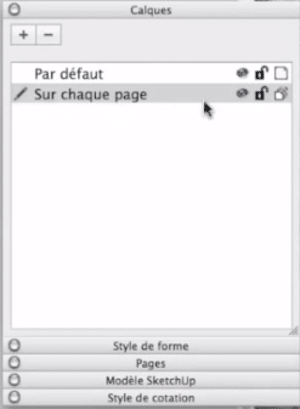
There are two layers by default. One visible, not locked and only visible on the page. And another layer, also visible and not locked but which will be on all the pages.
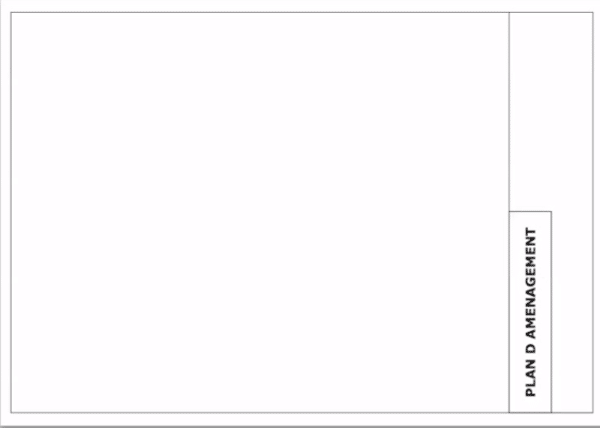
Click on the word “on each page”, a pen is displayed. It allows you to work on the layer. Then, take the rectangle tool to make a small cartridge. You must align the rectangle in both directions by clicking on “align on the page”.
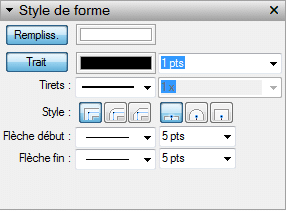
Select the rectangle and go to the “tool palette”. Then go to “shape style”. You can see that the buttons “fill” and “line” are checked.
Take the “text” tool and make a selection window. Pay attention to the order! If you make a selection window from left to right, the text is aligned to the left. And conversely, if the selection window is made from right to left, the text will be aligned to the right.
After writing a text, select it and go to “Window” and “Show Fonts”. On a PC, this window appears on the right, in the tool palettes and is called “Text Style”. Choose the desired font, the bold or not options, the alignment in the different directions…
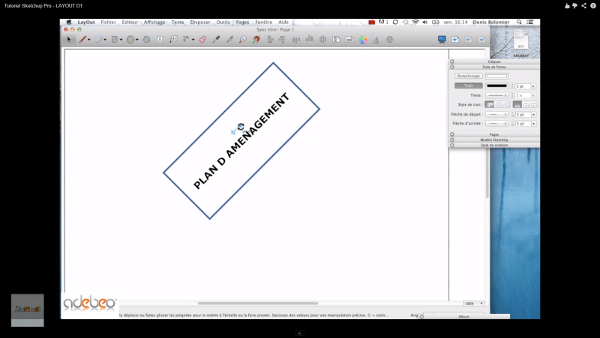
Take the block of text, shown in blue, and click on the “stroke” button to add a border around the text. By zooming on this text block, an icon (the small target) appears. It allows you to rotate the text. In addition, clicking and dragging allows you to move and position your text. You can also select the title block and the text block to align them on the left and the bottom, for example.
To insert your logo, click on “File” and “Insert”. Then choose your image, put it at the right size and once again position it as you wish.
After having made the title block (which is on the layer and “on each page”), you must lock the layer “on each page”, so all the elements on the layer of “each page” are locked.
When saving, you can click on “File” and “Save to template”. We will use this for a future tutorial.
Please give your opinion in the comment below.