Hello, in this tutorial we are going to take an interest in the Layout program which allows the layout of our SketchUp models. This program is only available with the pro version.
Find our tutorials on our Youtube channel.
When LayOut is launched, you are asked for a page format. For this tutorial this file is not very important because the goal is to adjust the toolbar. If you work on a Mac or PC, the steps are different.
For mac, you just have to right click : “customize the toolbar” and add the tool “snapping activated objects”, characterized by a magnet icon. You should also add the alignment tools (top, bottom, left, right) and the centering alignments. You will also need to add the tool to center objects horizontally and vertically. The addition of the color and font option is also interesting for macs.

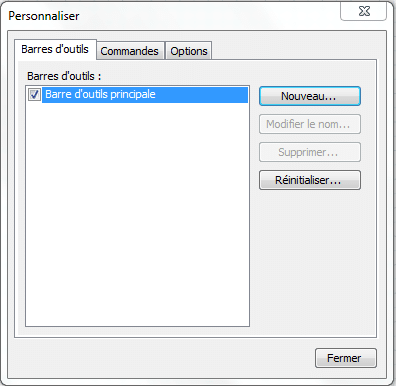
On the PC level, the settings are slightly different. You will have to make a right click : “customize the toolbar”. A dialog box appears. From there, you have to click on “New” to add a new toolbar and in it, you add the same icons.
Please give your opinion in the comment below.