Hello,
Today we are going to look at modeling from generic photographs. The latter is used for landscape insertion, but it is also used to complete already existing models.
I remind you that you can find all our tutorials on our Youtube channel.
First, we will focus on the first use. That is to say modeling from photographs. We will go to Google/Images, and type the word “house”, for example. We choose an image of a house. When we take the pictures of the object (or in our case, of the house to be modeled), it is advisable to take all the angles of the house, and not only one where we see a right angle. This is necessary for modeling with photographs, but also photographs of facades, in order to apply them in texture.
It is preferable to choose a good quality photograph, with a good view of a right angle. This is an important point. It is also essential that the chosen object is in the center of the photo. If the model is not taken in the middle of the photo, the lens tends to distort the perceptual. This will penalize the modeling and the object will not be modeled perfectly.
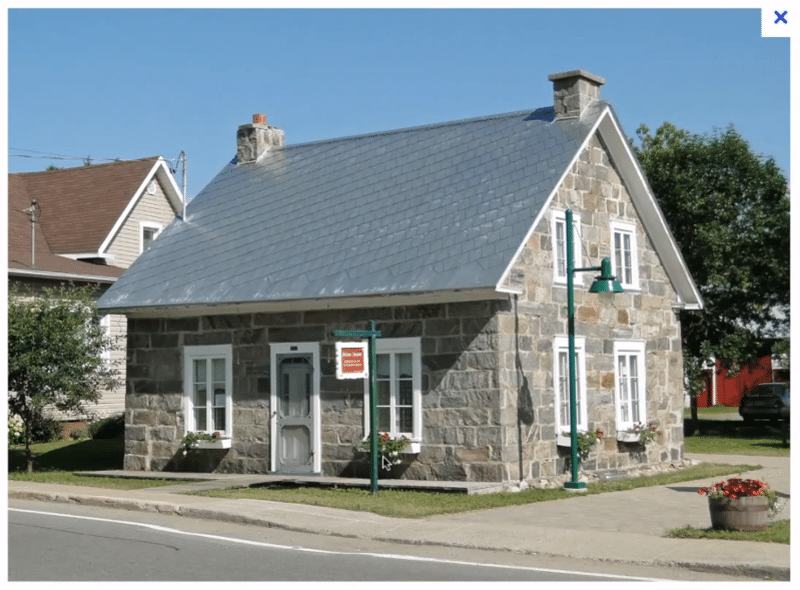
Here is an example of an image that fits the criteria: House right angle and centered
After saving the image, go to SketchUp. The first step is to go to File/Import. Regarding the format, you have to choose “all supported image formats” and “use as new suitable photo”. On PC, this drop-down list is on the right side. We choose the saved photo, and click on “Import”.
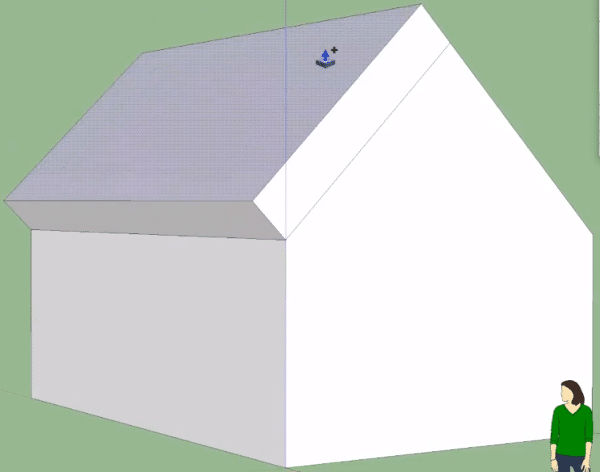
Don’t worry if you see lines everywhere. There are the red lines that are used to show the perceptual gaps in the photo. The green lines are used to identify the 90° leaks from the red axes of the photo.
The red and green lines extended to infinity give new points. Connecting the two points creates a yellow line that corresponds to the horizon of the photo. Above, in transparency, we see the SketchUp model, where Suzanne appears. We will position her, by clicking and sliding on the point of origin, at the beginning of the photo.
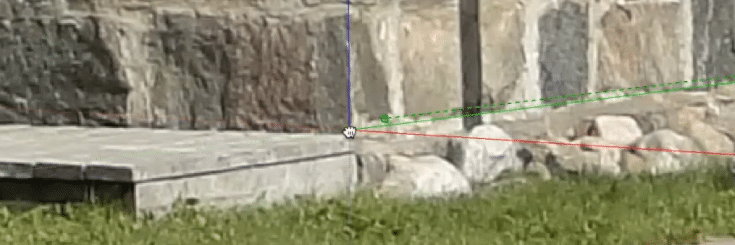
The idea is to position the points on parallel lines in the photo. You can then zoom in (but not orbit), for example, to position the red lines on specific points. You will notice that we did not choose the ground because it is never straight. We have the impression that it is, but if we take the slopes of the photo and consider that the windows have been made level, we see that there is a slight difference in level when following the red axis. Therefore, it is better to avoid relying on the ground lines.
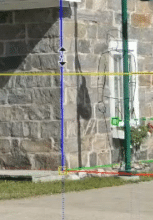
The last check to make, which is quite important, is to see if the blue axis follows the perpendicular ridge. At the same time, you can correct any misalignments. Before leaving the photo-based modeling, it is a good idea to hover over the axes where you see two small arrows appear.
You can then click and drag downwards to adjust the scale. However, this is not a precision tool. It is a simple adjustment of dimensions. Once all this is done, we’ll click on : “Finish”.
You should have left the photo modeling mode by now. The features are gone. If I want to find them again, I click on the scene that has the name of the image I imported. If I ever notice that my axes are wrong, I just have to make a right click, when I am on this scene, and click on : “modify the adapted photo”. The idea of this first step was to tell SketchUp where the camera was when the picture was taken.
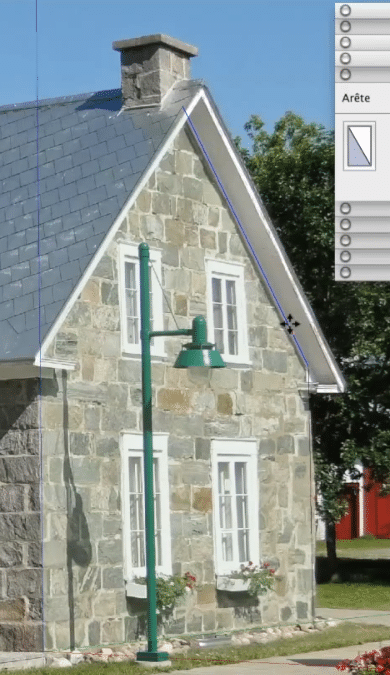
The second step concerns the modeling by shifting the edges. You have to use the “line” tool. When you want to make a model, you should always start from the origin because it is easier (hence the interest to position it well from the beginning). You must be very careful about the location of the axes and their corresponding colors. We hold down the “Shift” key, and go find the midpoint. When modeling a rectangle, the upper edge is made of lines (see the tutorial on inferences). We will then take the “Move” tool and click on the middle corner. I press the top arrow and move up so that the edge of my roof is consistent. The lines are now parallel.
After having modeled one side of the house, we are still missing the other sides. We will then take the “push” tool. We notice a slight lack at the bottom, this is normal. It is due to the fact that the floor is not straight. We can correct this later.
By taking the “push” tool, in orbit, we will press “Alt” for mac or “Ctrl” for pc, and as seen in a previous tutorial, we will be able to push the roof to give it a little thickness, while leaving the original face.
By pressing “Alt” again and double clicking, we will set the same thickness. This step is necessary so that the roof is the same thickness. We will then take our “line” tool, click and hover over the breakpoint. When we are green and we have blue dots, we click again. This has allowed us to make a small face. All that remains is to erase the excess edges. If your face has disappeared, it’s because you double-clicked wrongly when making your push. Switching from orbit mode to photo modeling allows you to manage imperfections, returns, parallels, symmetries, edges…
To remove the guides, go to “Edit” and “Remove guides”. It is better to do this than to erase them (see tutorial on guides). This avoids problems.
Then, going to the adapted modeling scene and I will position Suzanne right in front of the house. We will do space bar and three clicks on the house. Then right click and “Project photo”. SketchUp asks us if we want to cut out the partially visible faces. We must then answer NO. Thus it projects the textures without cutting the shadow of Suzanne. We can do this again with other things in the house, like the fireplace, for example. So we get the texture back.
Concerning the positioning of the textures, we invite you to look at our tutorials. They are always useful when modeling from a photo.
Modeling from a photo is not a precision tool but it can be interesting. In particular to visualize all the elements (ex: gutters…).
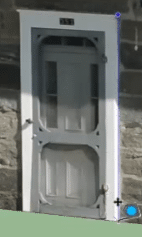
Concerning the adjustment of the scale, it is advised to take the tool “meter” and to make a click at the top and a second click at the bottom (for a door for example), then to enter the desired measurements. SketchUp then asks us if we want to resize, the answer is yes. The whole model is then resized, so that it is to scale.
Please leave your opinion in a comment below.