Hello everyone. In this new tutorial, we will see the “paint pot” tool (from its real name “Colorier”). But we will be interested in the use of this tool on PC. I refer you to our previous tutorial about this tool on Mac.
The main part of this tutorial can be found in this video on our youtube channel
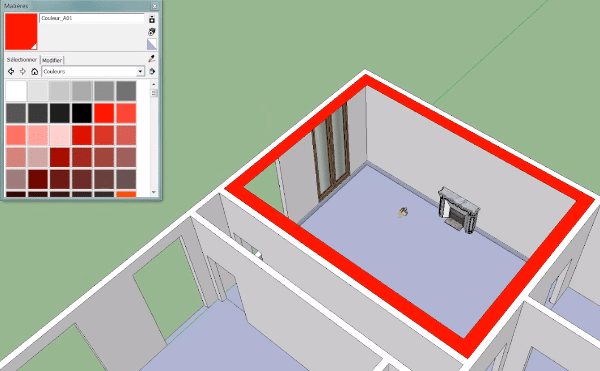
 The shortcut for the “paint bucket” tool is “b” for “bucket”. A material window appears automatically, as well as a small paint bucket. We will then select a color, from the library of “colors” in the drop-down list. We will select the color red, for example, and click on the cornice. The whole cornice is then painted red because it is already in a group or component. To paint only the floor, we need to take the “selection” tool, and double-click on the group in which the floor is located. We then manage to select the face, which means that we can apply a material just on the floor.
Don’t hesitate to take the time to explore all the libraries. In them, we will select colors and textures and apply them by clicking on the faces. For example, we will take some brick and put it on a wall. Let’s say we want to get the texture of a floor and apply it to another place. Unfortunately, in the active mode, we have the brick selected. We will then hold down “Alt”, and you will see that the paint can turns into a dropper.  We then click on the floor and the active texture is now that of the floor. So we can apply it wherever we want.
We will now see a library a bit by particular, by clicking on the house.  This is the library that is in the template. It is in fact all the colors that we have already put in our model. We will, for example, be able to modify our floor texture by going to the modify tab. We have, below, a color wheel that will allow us to change the dominant color of our floor or its opacity that is to say its transparency.
Then we have two more pipettes. Let’s imagine that we want to recover precisely the red of our cornice to put it on our floor. Then we click on it and our floor gets the red color we clicked on. This is very useful for logos in particular or to go faster when we have precise colors to recover.
The second eyedropper is the “material eyedropper”, which does not exist on Mac. It will retrieve the dominant color of a texture. In our tutorial, we will click on the bricks and our floor will retrieve the dominant color of these bricks. In computer graphics, this is quite interesting. It will allow to homogenize the whole appearance of a model, of a graphic.
Please leave your opinion in the comment below.