Hello everyone!
In this tutorial we will see how to import textures in SketchUp. Importing textures is very important on SketchUp because it will improve the provided libraries. The main part of this tutorial can be found in this video on our youtube channel
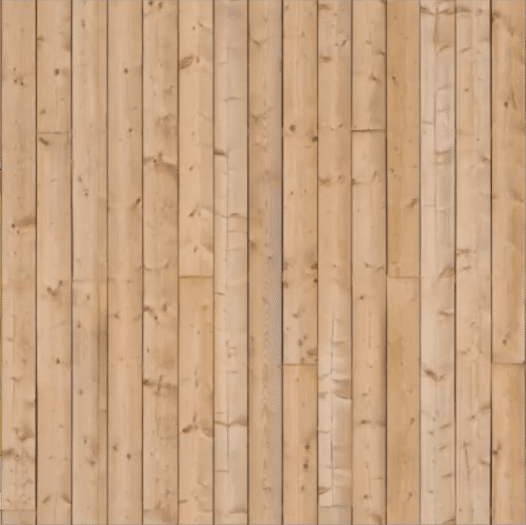
In theory, we can import any image to apply it as a texture. But in reality, the images we import must be prepared. They have to be texture images. How do you identify a textured image from one that is not? There must not be a difference in hues between the top and bottom, and the left and right. This is a bit of a prerequisite for an image to have a nice texture and not have the mosaic effect. But where do you find these images? It is very simple. Just go to our site. Example of a good texture :
Once we have selected our texture, we will right click “save as”, and we will find the image in our download.
Back in SketchUp, we would like to apply this image to the floor. So we take the “selection” tool, we double-click on the floor until we manage to select it. Then we go to “File/Import”, select in the format “all supported image files” and “use as texture”. On PC “use as texture” is located on the right of the dialog box.

We choose the downloaded file, and click on “ok”. From there, we click in the middle of our face. In the middle because if we put it on one side, sometimes SketchUp will make a mistake and put it on the other side. So we click right in the middle and then we give a rough scale factor and then another click. You can then see that since this is a nice texture, we don’t see the connection between the two images at all.
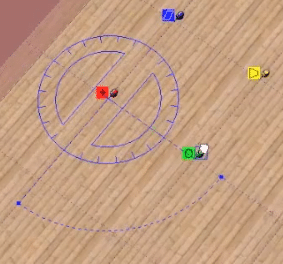
When the floor is not in the right direction, to position it you have to right click on it. But a direct right click, without selecting the edges. Because if we right click at this moment, we don’t have the text menu. You have to right-click directly and choose “Texture/Position”. We then have four pins that appear. We will only use the red and green ones. If we click and drag, and keep our finger firmly planted on the red pin, it will allow us to move the image. Then, if we click and drag again (with our finger firmly on the green pin), this will allow us to adjust both the rotation and the proportion of our floor. Once all this is good, we right click “Finish”.
Taking our paint can, we will hold down “apple” on Mac and “Alt” on PC, we will click like this we will get our new texture and we will be able to apply it to the rest of the apartment. With the “selection” tool, we click outside. And there we can position our floor.
Please leave your opinion in the comment below.