Advanced functions of the push/pull tool
In this tutorial we will see the advanced features of the push/pull tool. This will allow us to align faces as well as duplicate them.
You can find the main part of this tutorial in this video from our youtube channel:
We will see how to align two faces with the “push/pull” tool. For this I will take an example.

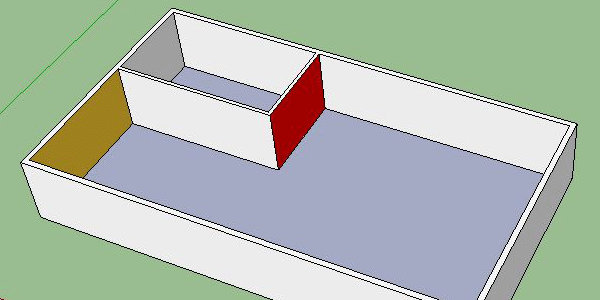
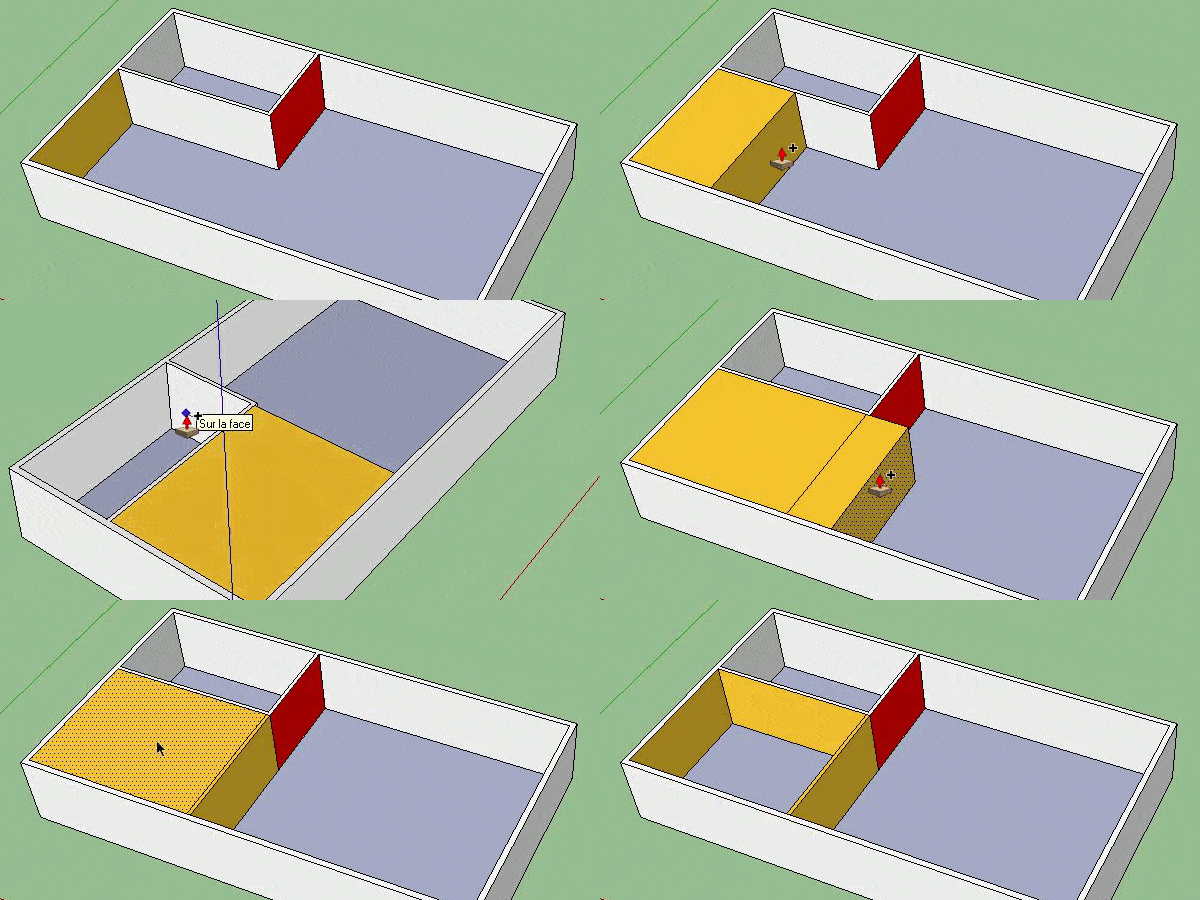
Let’s say on the picture I want to bring the yellow face to be next to my red face. To do this I take my push/pull tool, I click on my yellow face and then I go and click on my red face.
Now let’s say I want to make a partition that is next to the red face. To do this, I’m going to duplicate my face by pressing the “ctrl” key on my keyboard when I use my push/pull tool. I will then put my duplicated face next to the inner wall and then I will duplicate it again to put it next to the red face. Once I’ve done that, all I have to do is remove the excess face in order to open my room. In order to put the first partition in place, don’t hesitate to move around the space to be able to see the other face more easily to click on it. Of course I could click on the inner edge but it is less obvious and it can be a source of errors if I don’t click on the right place.

As you can see, duplicating also copies the colors that are assigned.
The way of duplicating is important because this is the way of doing it that we will find on all the tools that allow this. In our next tutorial we will see that we can use it with the move tool.

