In this tutorial we will see the adhesion of 2 dimensional geometries.
You can find the essence of this tutorial in this video from our youtube channel:

To do this we will use the “Move” tool. To use it, click on the button or use the keyboard shortcut “M” for “Move”. This tool allows us to move objects, edges, points, etc., but it also allows us to duplicate and many other things. For the moment we will focus on its main function: moving.
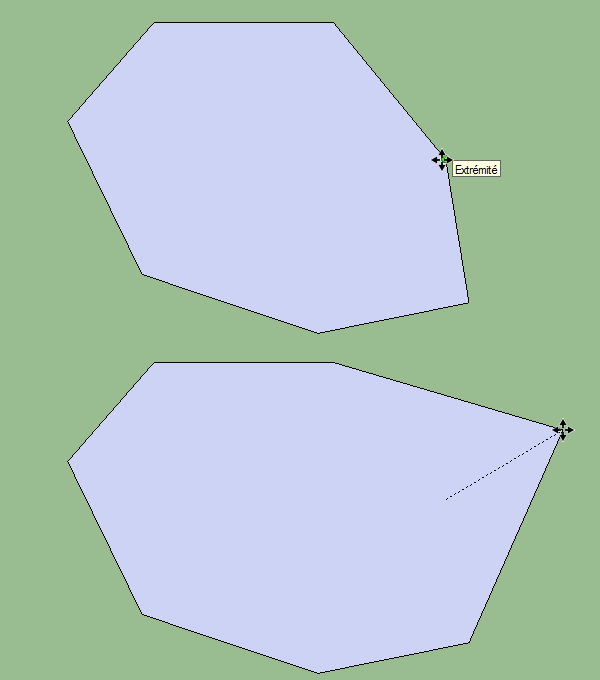
To do this, we’ll make a polygon of some sort, then we’ll take our “move” tool, making sure to deselect our polygon. With our “move” tool we will click on one of the points of our polygon, and we will move this point. As we do this you will notice that the two edges attached to this point will also move.

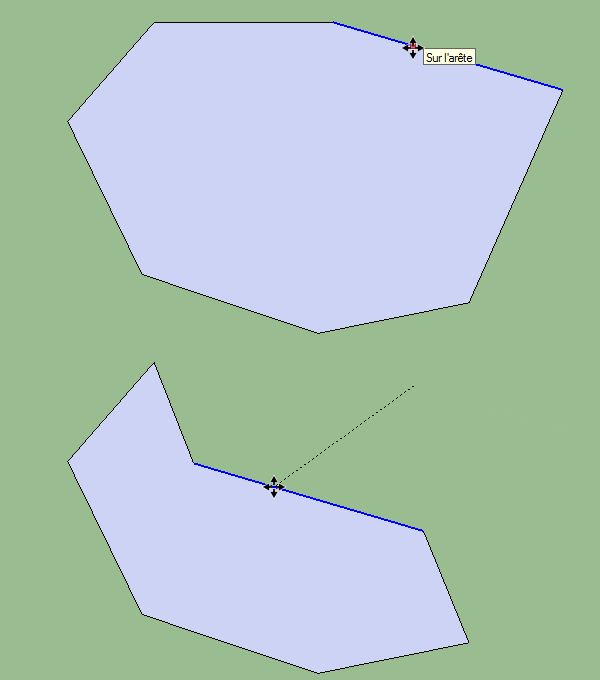
If you move an edge the same thing happens, both edges that are attached move with it. The edge you move does not change, either in size or orientation.

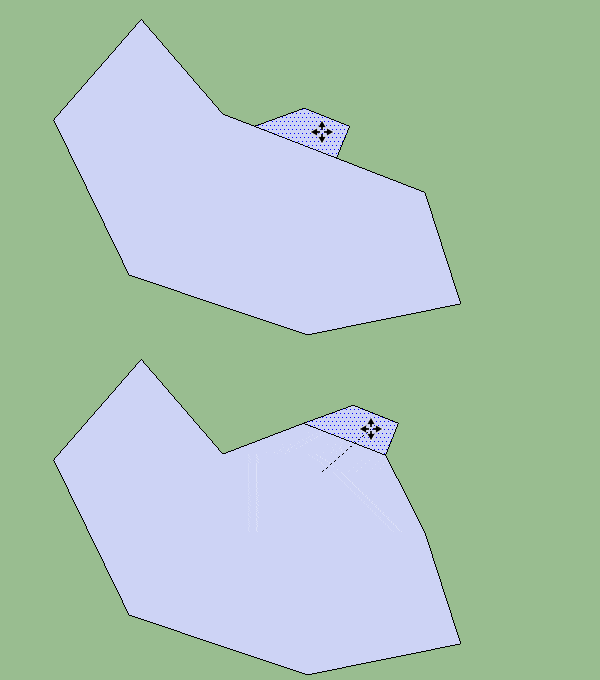
You can also move faces, which will move all the edges that form that face. Of course, if your face is stuck to another face it will deform your other face:

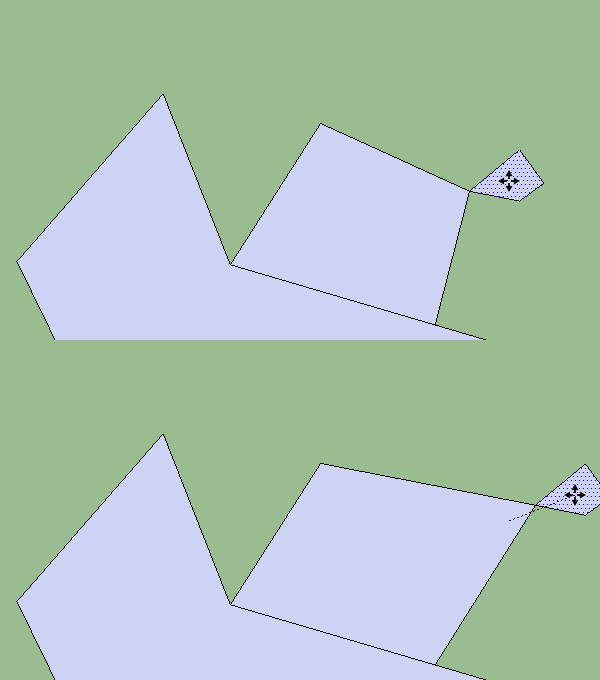
One last thing to know: you can pre-select what you want to move. When you do this, clicking anywhere with the “move” tool will move what you have selected. This can be confusing at first, but it is very convenient if you want to move something to a specific location. For example, you can choose to place a face by a specific point and move it as you wish. A small example to illustrate what I have just explained:

In this example, I selected my face by double clicking on it with the selection tool (this also selects the edges attached to the face). I then took my selection tool and clicked on the point I was interested in. I was then able to move it precisely to a point on my polygon, something I could not have done by selecting anywhere on the face with my “move” tool. Of course, now if I move my face, you can see that the point that moves deforms the other face.

This is because I brought my face to the point. SketchUp combined the two points into one.
So you can see that the geometries in SketchUp are linked to each other.
In the next tutorial, we will see the “offset” tool and the “eraser” tool. We will also practice what we have seen in our previous tutorials.

