Hello, today we are going to see the basic navigation that will allow us to move in our 3D view.
If you prefer video, you can watch this tutorial from our youtube channel that shows us all these tools:
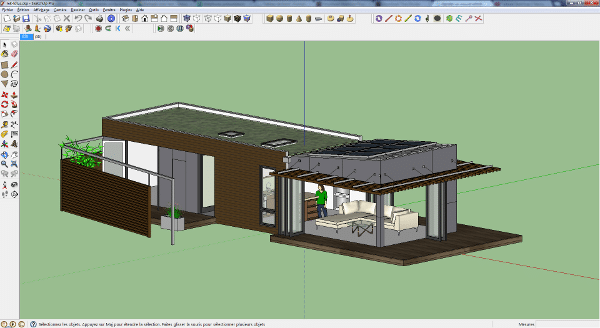
For this we need a basic file that will allow us to test the different tools. I invite you to download it here:
mk-lotus (it is a compressed file, double click on it and then double click on the SketchUp file inside). This file comes from the SketchUp 3D image bank, we will see how it works in another tutorial.
By opening this file you should have this view:
Don’t worry if you don’t have the same interface as me, what matters is to have the toolbar I have on the left. If you don’t have it, I invite you to watch this video for Windows : Windows interface settings and for Mac OS : Mac OS interface settings.
We will see how to use these tools:

You will be able to click on these buttons to use these tools, but it will not be useful for the first 3 buttons.

The first thing we will see is the zoom. This tool is quite intuitive, you just have to use the wheel of your mouse. What may seem confusing is that the tool zooms in where your mouse pointer is. If it is on the corner of the house you will zoom in on that corner, so the zoom is not in the center of your view as some 3D software would tend to do. If you want to recenter your view in relation to your mouse pointer, just double click on the wheel. I invite you to test this to understand how it works.
 Now we will see how to turn around our object. To do this we will use the “orbit” tool. To do this, simply click and hold the mouse wheel. When you move the mouse in this way, you will see that you are turning around your object.
 To move in two dimensions instead of three, hold down the shift key, click on the wheel and move the mouse. You will see that you have done a sort of “chassé step”. This tool is called “panning” in SketchUp.
By combining “pan” and “orbit” you will be able to move easily in your 3D view.

Another very useful tool is the “extended zoom”, it allows you to have an optimal zoom on your 3D view, that is to say to zoom in (or out) to see your whole object. To use the tool, you can click on the button that represents a magnifying glass with 4 blue arrows. Or, if like me you are fond of keyboard shortcuts, you can simply do “shift+z” on your keyboard (be careful not to do a “ctrl+z” which will undo the last change you made). If you want to zoom in on a specific object, you can right-click on the object, and in the contextual menu that appears click on “zoom extended”. I invite you to try this on Suzanne, the 2D person you see in the house. Then to see the tool properly, click on it (or “shift+z”) and you will see that you will zoom out to see the whole house.

We will see one last tool, it is “previous” (and its double “next”). To use this tool you have the last two navigation buttons that we haven’t seen yet. As you may have already guessed, it is simply a matter of undoing or redoing the previous moves made.
I invite you to try out these tools to familiarize yourself with navigation in SketchUp.
Let’s draw our first lines and shapes in the next tutorial!