Shift and erase tool
In this tutorial we will look at the shift tool and the eraser tool. We will use these tools to make partitions very easily. But that is not the only use of these tools. You can find the main part of this tutorial in this video from our youtube channel:

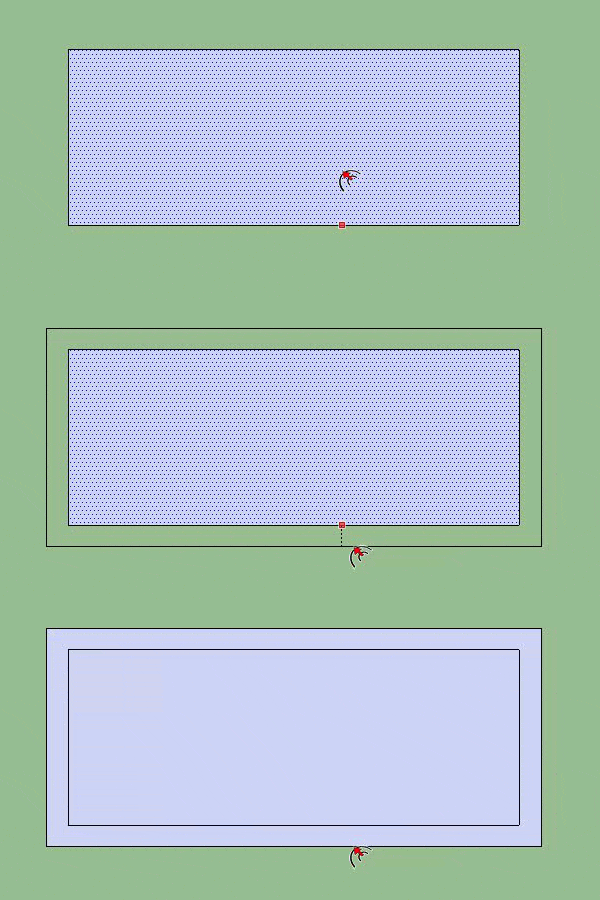
The offset tool (keyboard shortcut: “F”) allows you to create a copy of lines, faces, arcs or any other shape with at least two adjacent edges, placing them at equal distance from the original. To do this we can select what we want to shift and then use the tool or we can use the tool directly. The second way is faster but can be a source of errors. So I would advise you to select beforehand what you want to shift.

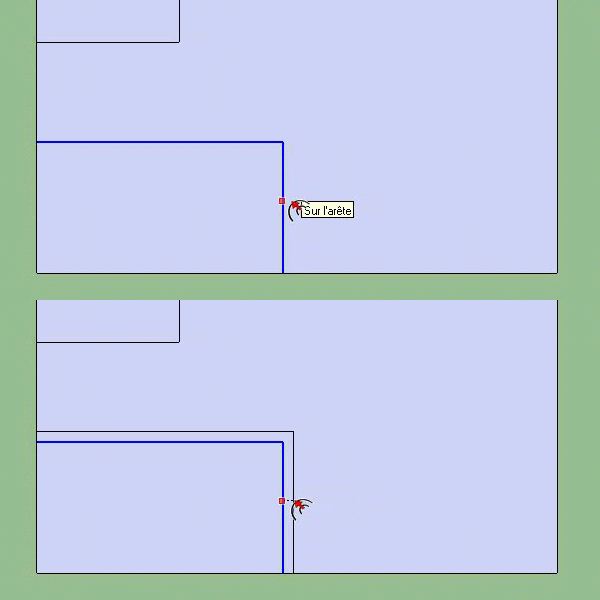
You can specify a distance, so it’s very easy to define partitions. If I want 15 cm thick walls I just enter “15cm” when I use the offset tool and I have my wall the width I want. If I had wanted to do it with lines it would have been very tedious. Of course, you don’t necessarily want to offset all the segments of a face when you make your wall, so it is possible to use the offset tool on adjacent edges. Here is an example :

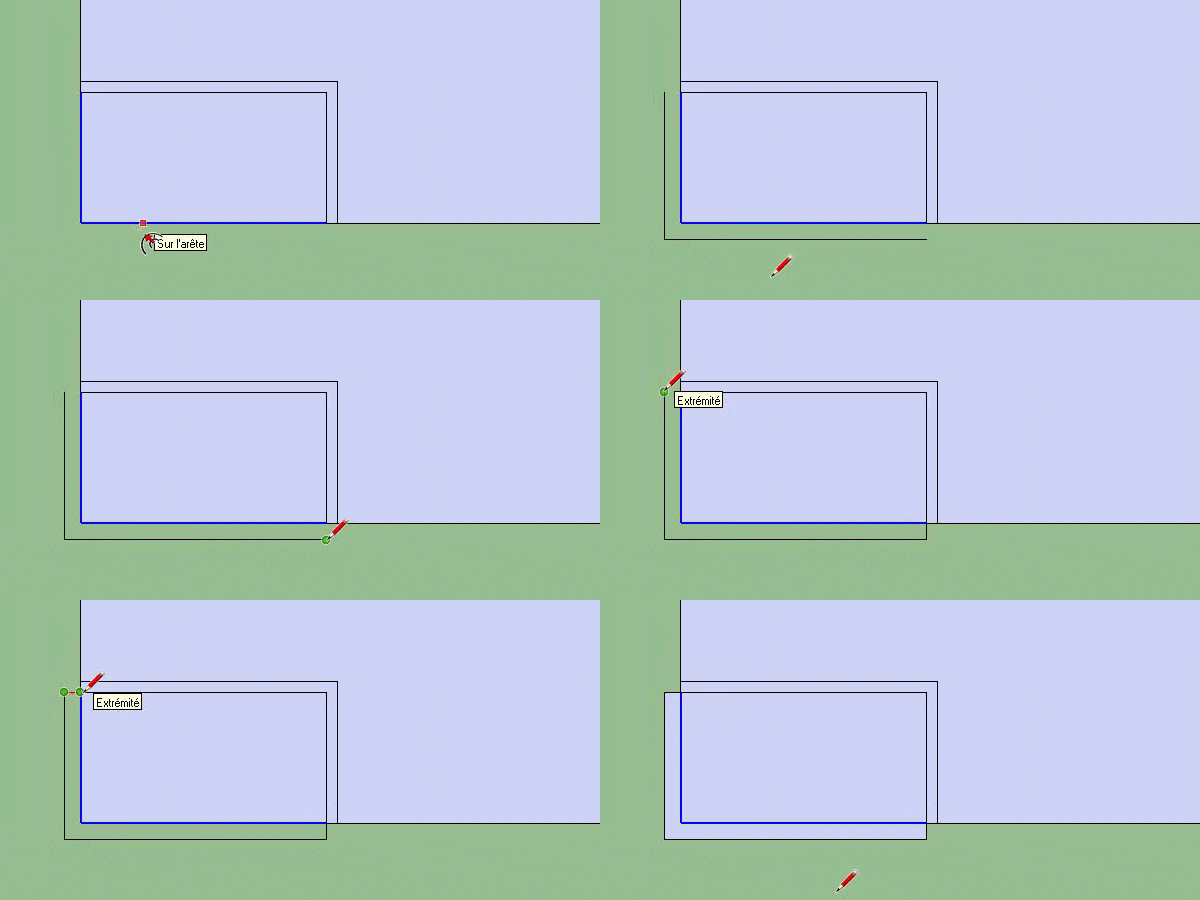
If you use the offset tool on two edges and move outwards, the tool will only make a copy of the edges but it will not connect these two new edges to the two old ones. You will have to use your line tool:

There will come a time when, through retouching and layering, there are bits of lines in your walls. To clean this up, so that we can mount all the walls at once in 3 dimensions, we will remove these lines. This is where our “eraser” tool comes in.

Our “eraser” tool (keyboard shortcut “E” for “erase”) can be used by clicking on what you want to erase or by clicking and dragging (while holding down the left mouse button) on what you want to remove. The tool only works on lines/segments. If you want to remove faces, you will have to select it and use the “delete” key on your keyboard. By using your eraser with the “click and drag” feature, you will only erase what you have hovered over once you release your mouse button. In the meantime, all the elements that you have hovered over will turn blue, just like when you make a selection. The “eraser” tool can also be used to “soften” edges or simply to hide them. But we will see this advanced use later.
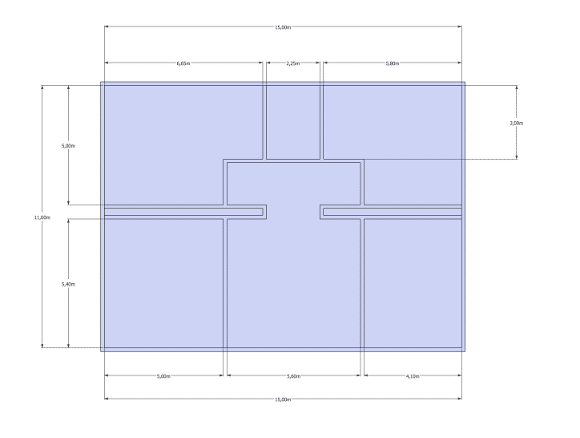
To practice, I invite you to watch the video at the beginning of the article and reproduce the plan of the video. The plan with its dimensions is available here :

In the next tutorial we will see how to put a 3rd dimension with the “push/pull” tool.

